A clean iPad drawing desk setup helps you start faster, stay focused and keep your tools within reach. It does not need to be expensive or complicated.
Why desk setup matters for digital artists
When your iPad lies flat, your neck bends forward. When your Apple Pencil has no storage spot, it disappears. When every Procreate command requires reaching across the screen, your drawing rhythm breaks. A clean setup solves those small interruptions.
The core pieces of a clean setup
- One main drawing angle: Use a stand or case angle that feels natural for sketching and coloring.
- One side control zone: Keep shortcut keys, keyboard or references on the side of your non-dominant hand.
- One storage habit: Give the Apple Pencil, tips and cable a consistent home.
- One visual style: Choose cases and accessories that make the desk feel calm instead of cluttered.
Recommended AOIKTYE setup
A simple AOIKTYE drawing desk can start with four pieces.
- AOIKTYE Wireless Shortcut Keyboard for Procreate – left-hand shortcut control for drawing apps
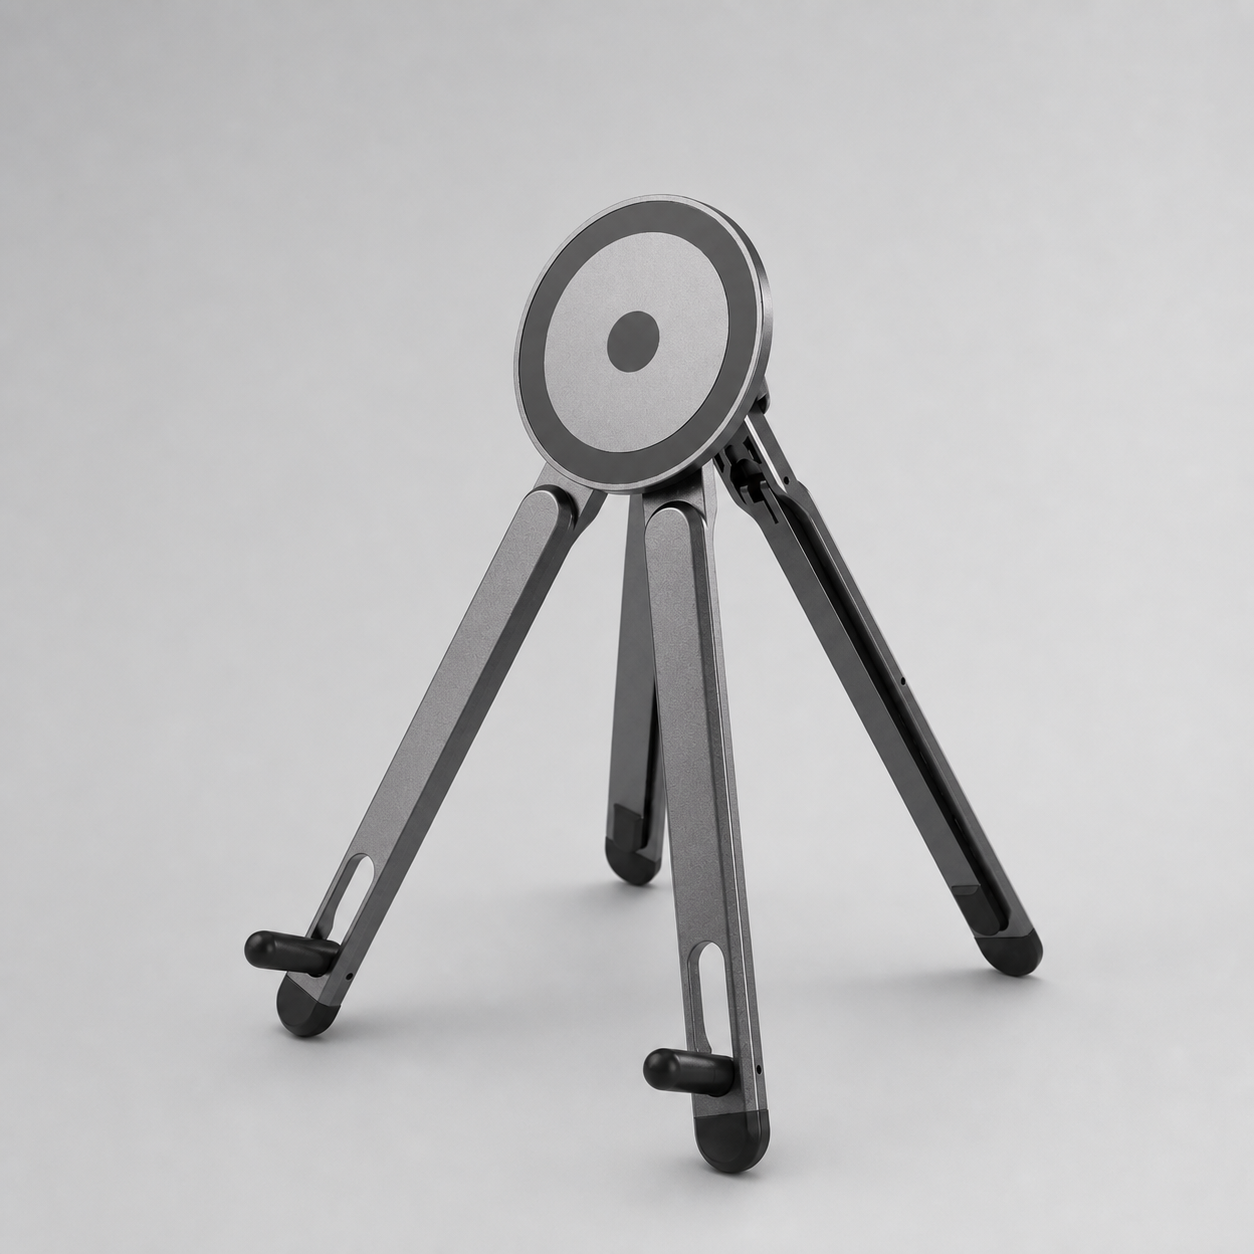
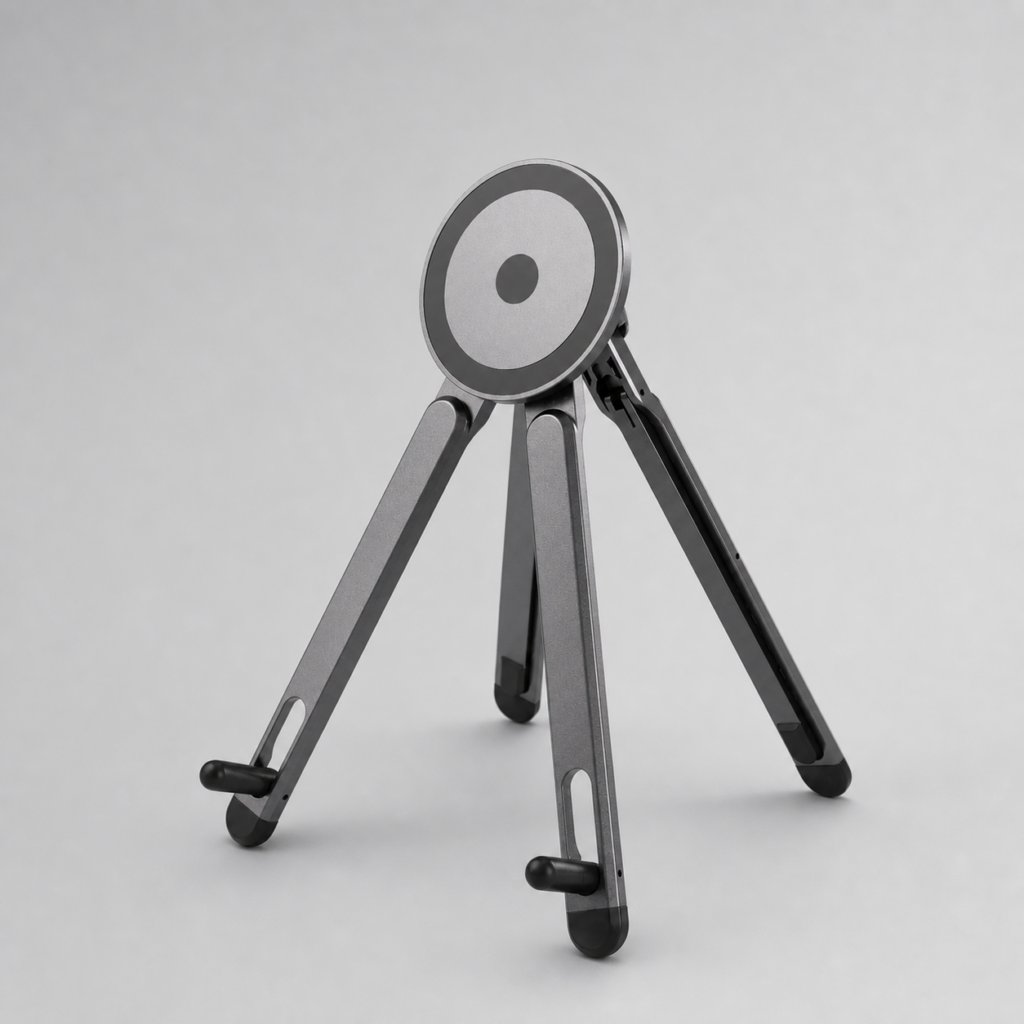
- Magnetic Aluminum Phone and Tablet Stand – a compact stand for iPad, phone, tutorials and desk setup
- Multi-Angle Magnetic iPad Drawing Case with Pencil Slot – multi-angle support for drawing and viewing
- Paper-Feel Magnetic Screen Protector – a paper-like surface for better Apple Pencil control
Practical buying tips
- Put the iPad at a slightly raised angle instead of fully flat.
- Keep only the tools you use during a drawing session on the desk.
- Use a phone stand for references or tutorials.
- Choose neutral accessory colors if you want product photos and desk content to look cleaner.
Quick FAQ
Is a desk stand better than a case stand?
A desk stand is usually more stable, while a case stand is more portable. Many artists use both.
Can this setup work for students?
Yes. Students can use the same setup for note-taking, design work, video calls and drawing practice.
Final thoughts
A clean iPad drawing desk is really a low-friction workspace. If your tools are easy to reach and your screen angle feels right, creating becomes easier to start.